017: Handstands (Part II)
On building (enough) strength.
This is Part II.
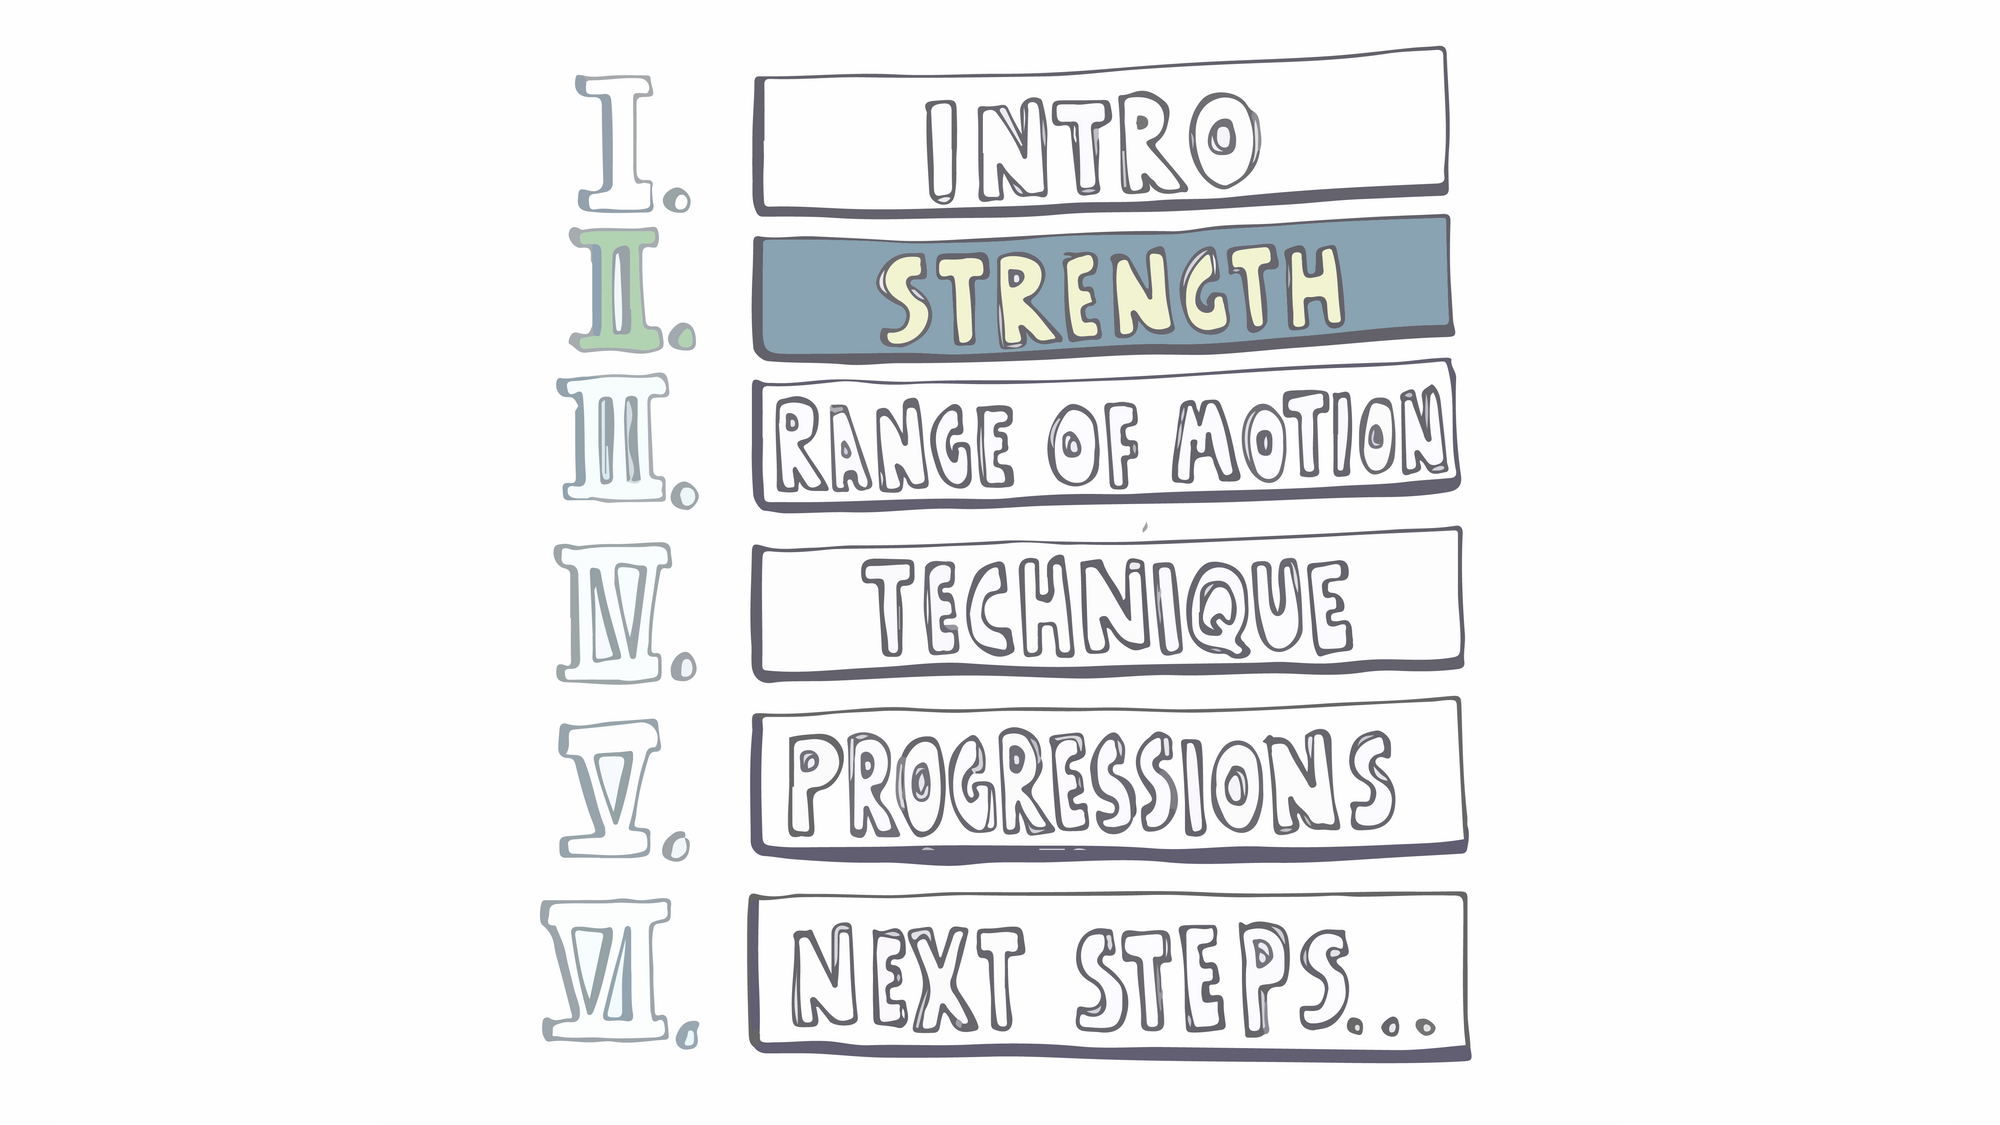
Part I covers general handstand principles and intrinsic motivation.
Today, the focus is on strength.
Handstands require some strength.
But it's less than people think.
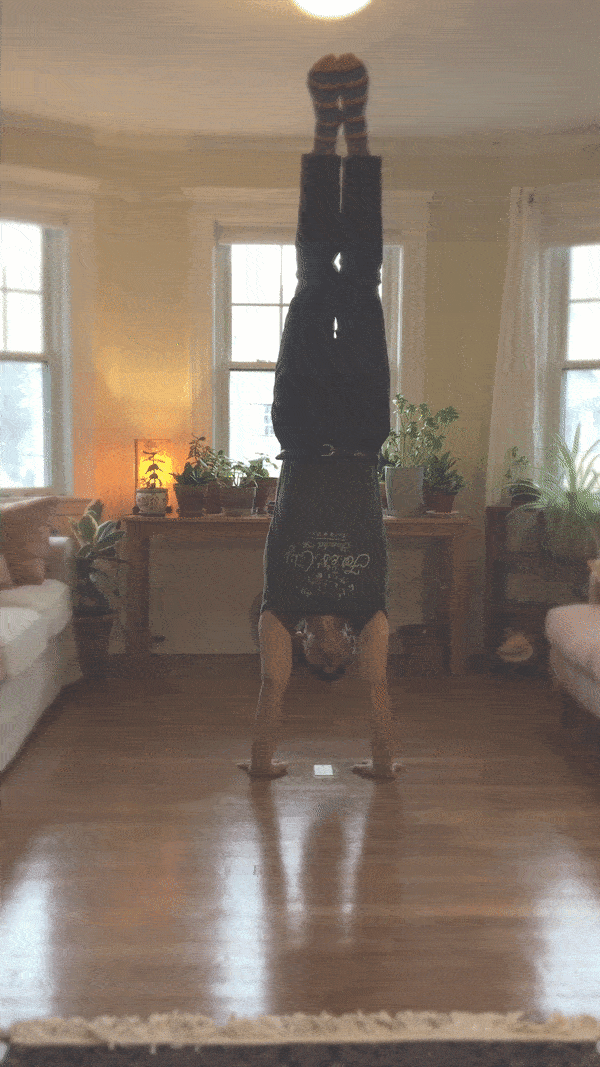
They're much more a bodyweight skill move than a strength one.
Tradeoffs:
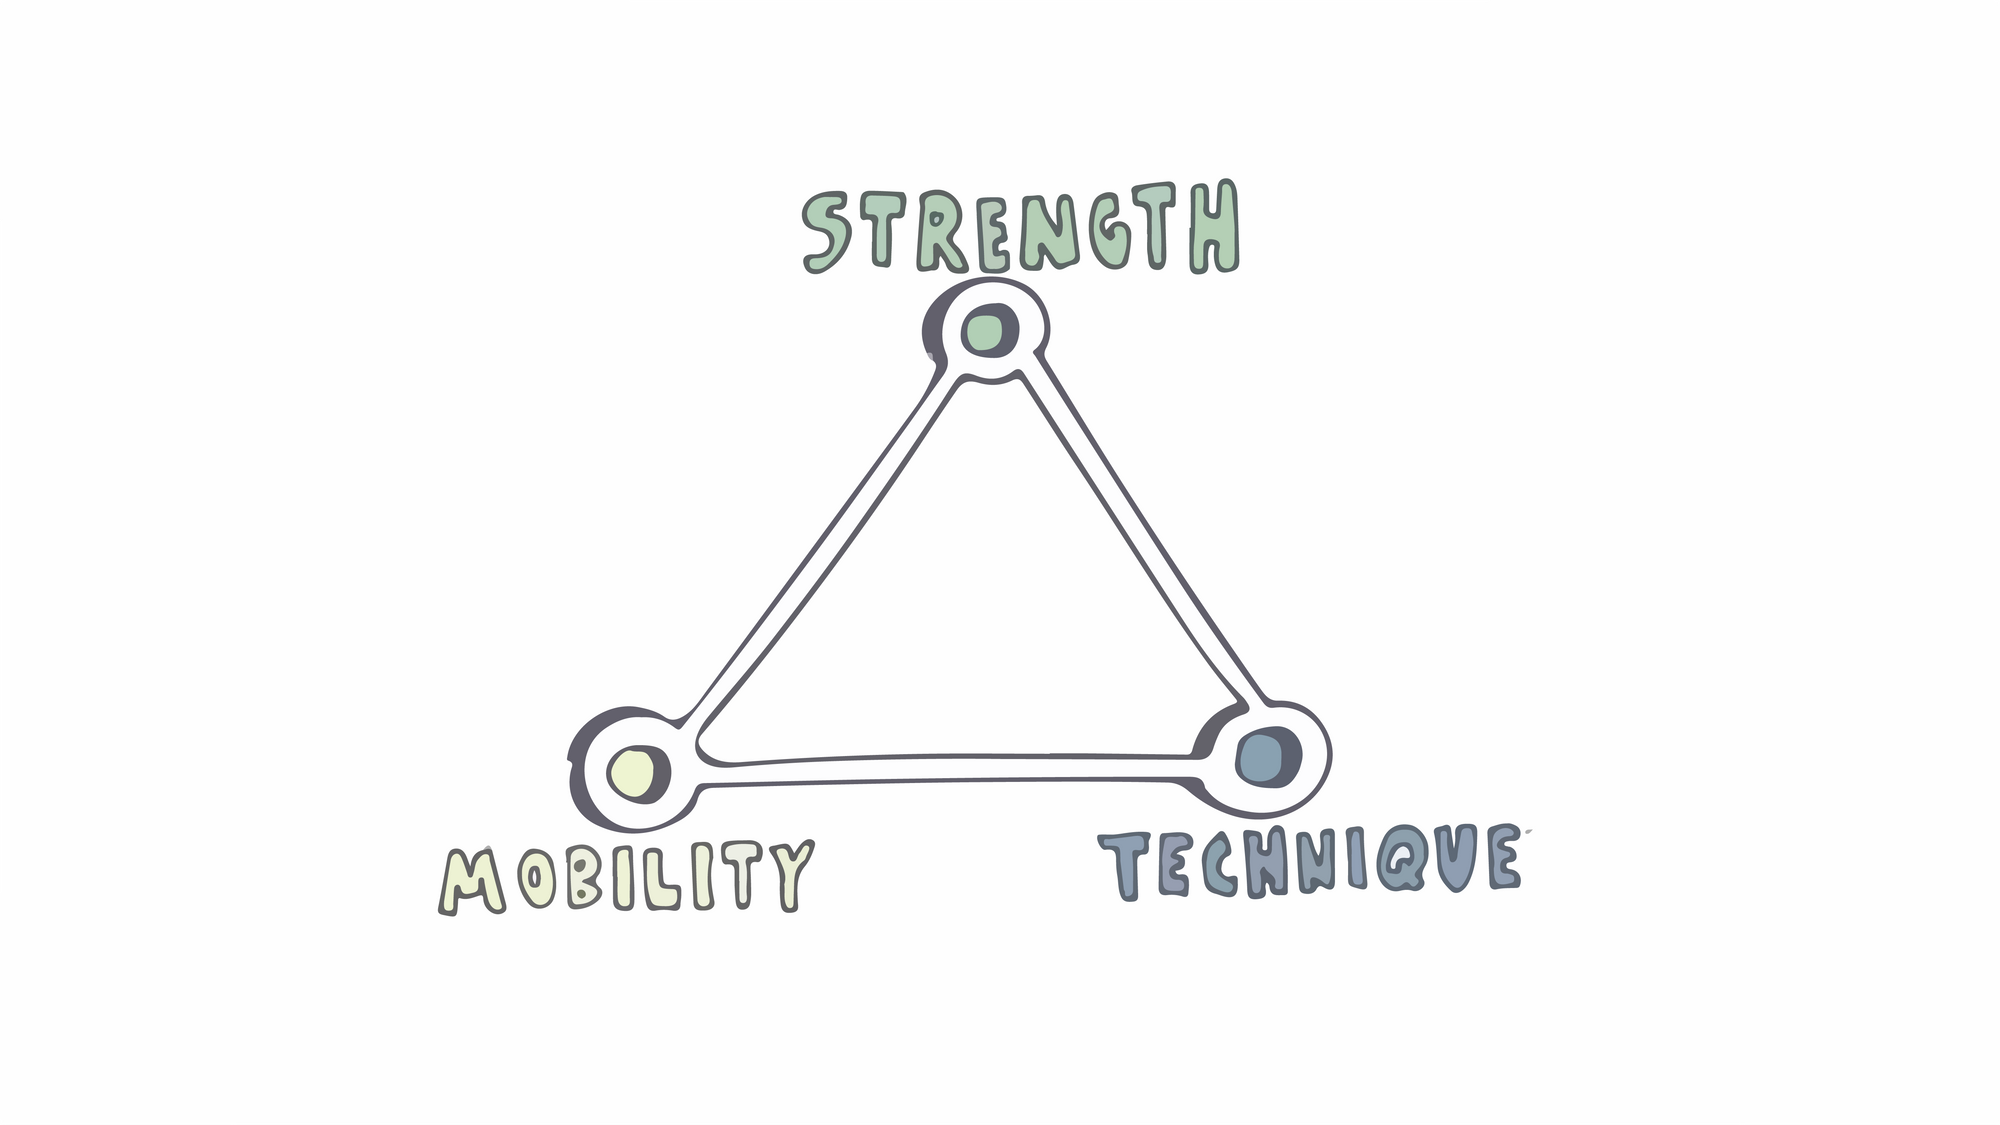
The more strength you have, the more you can make up for bad mobility or technique (“muscling it out”). For example, people with strong, tight shoulders.
The more technique and flexibility you use, on the other hand, the less strength you’ll require. Just by using a more efficient (stacked) line.
To start, I recommend most people build a base of daily calisthenics or simple movements. Really, any form of general physical preparation that connects the brain and body and gets you moving in diverse ways.
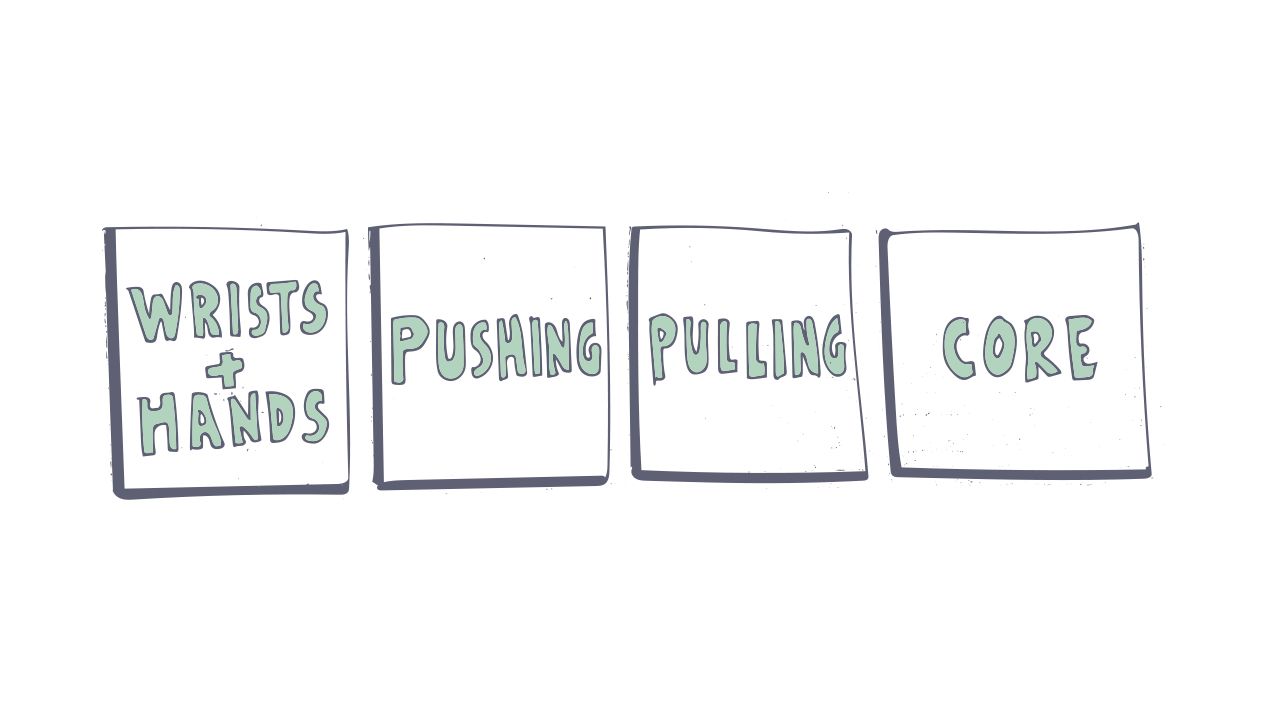
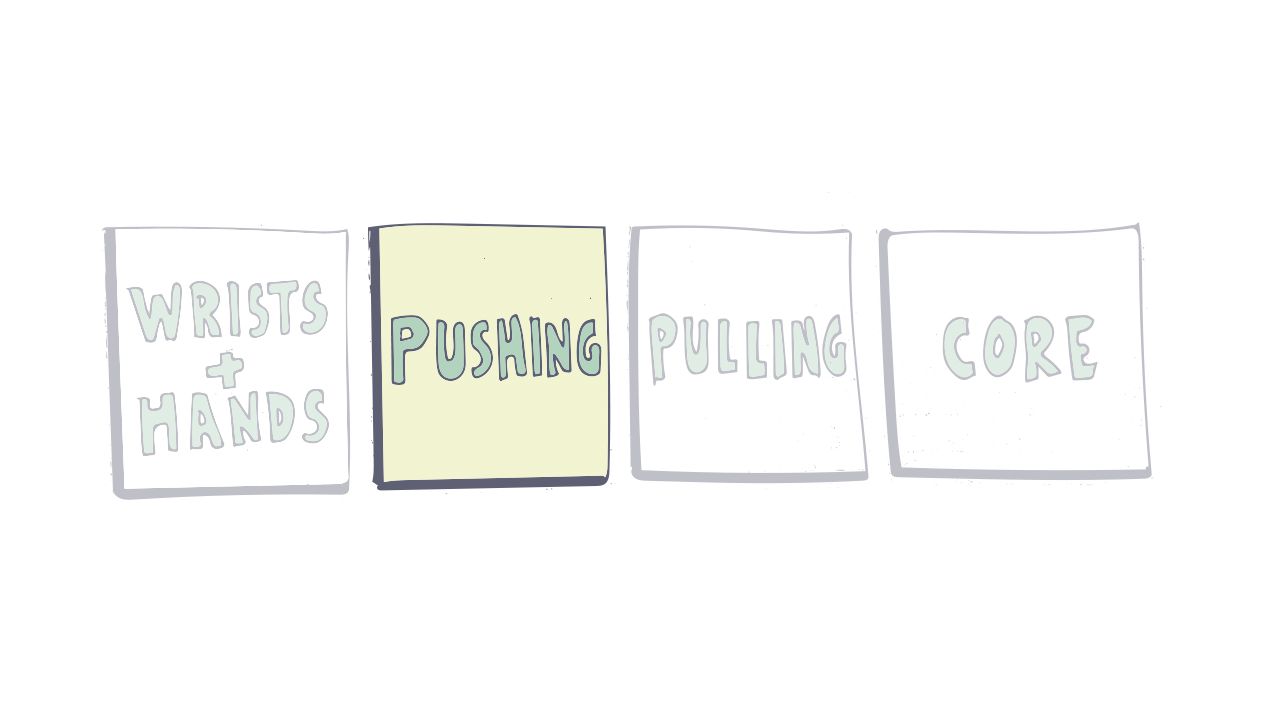
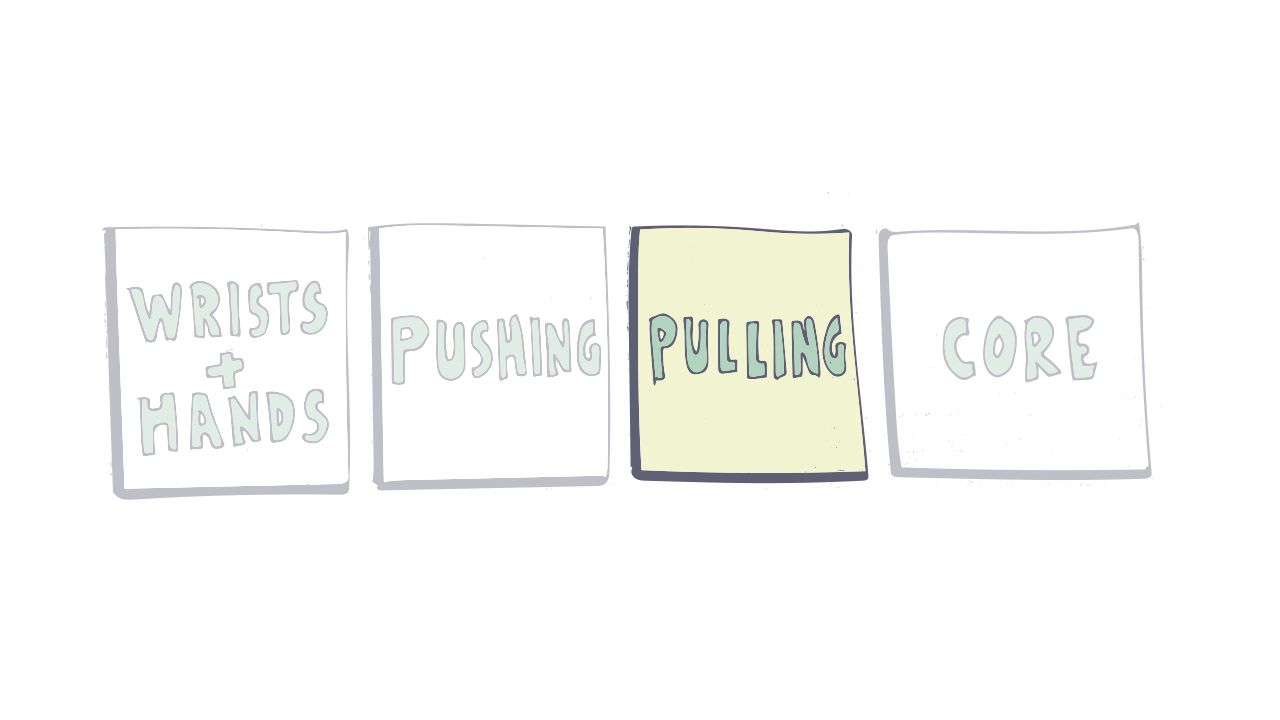
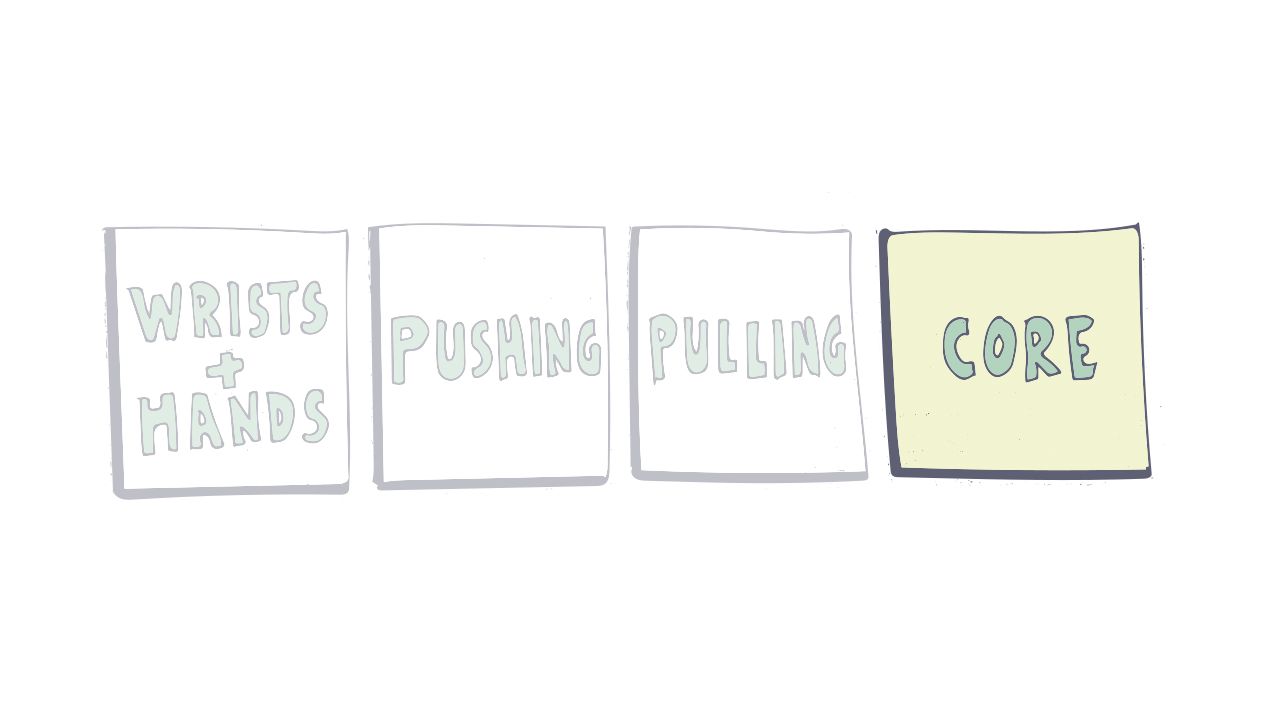
Once you have a basic fitness level, here are four areas of strength directly transferable to handbalancing.
- Wrists + hands
- Pushing
- Pulling
- Core
Remember these two principles 💡
- Get strong in a wide range of motion: You're only as strong as your weakest ROM. Get comfortable in extended positions.
- Strengthen from multiple directions: Train the opposite (antagonist) muscles. Balance the joints.
Your base = wrists and hands.
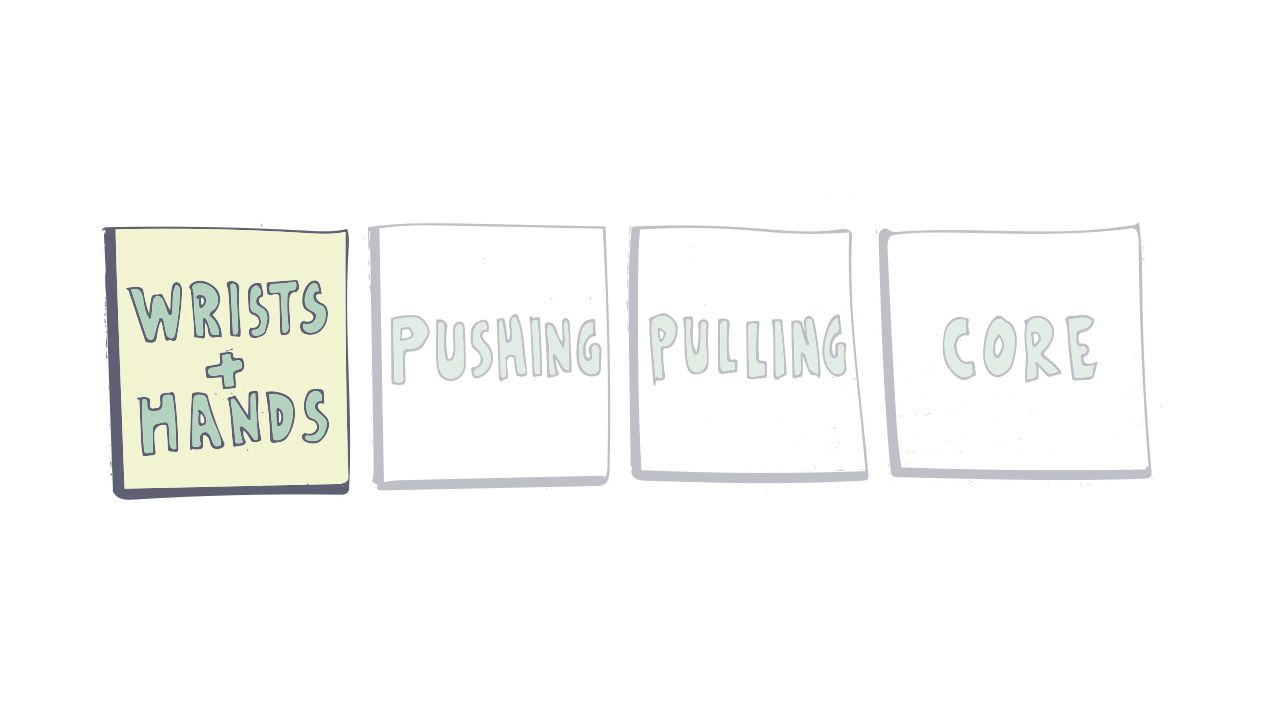
Handstands require a lot of hands (it's in the name). Unfortunately, most people never train hands and wrists directly.
You can start right now.
Warm up with easy articulations of the wrists and fingers. For example, do these when you need a break from writing or typing.
Next, do slow circles. 90 degrees of weighted wrist extension is a prerequisite.
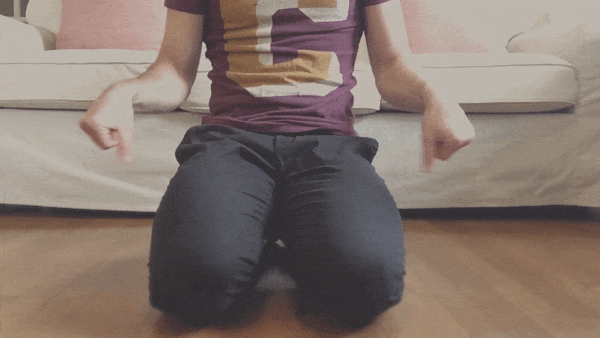
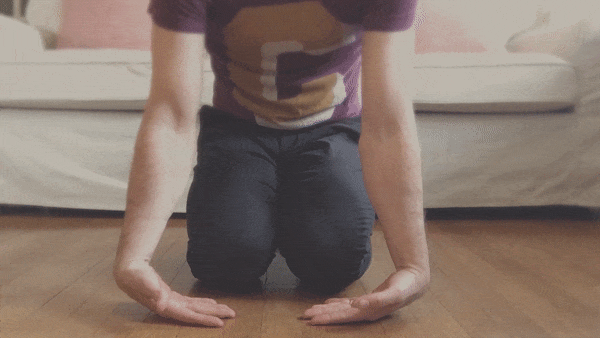
Point your fingers forwards, then turned out to the side. Press down actively through all knuckles, especially the index fingers.

Next, sit back in forearm stretch. Add a small bend in your elbows. You should feel this in the muscles - not the joints.
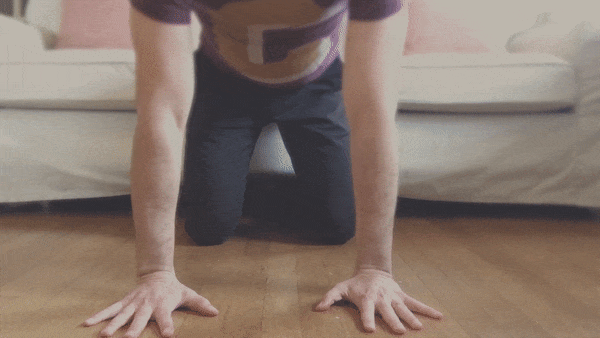
Flip the wrists. Make this more active by gently pressing up and down. These can be intense - proceed slowly.
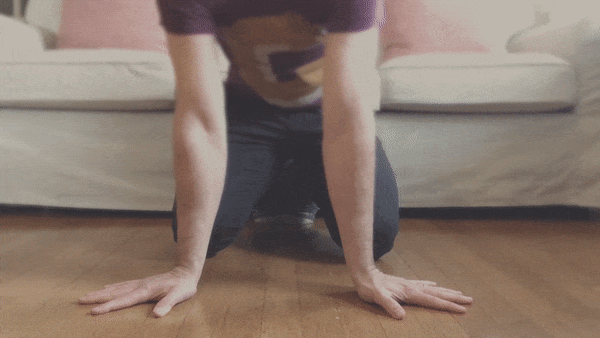
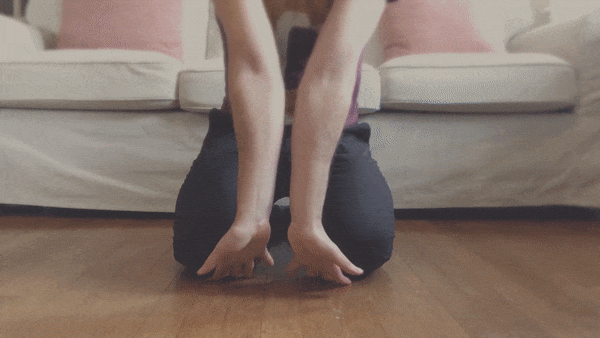
Finger presses: Actively lift your palms, keeping the four knuckles connected to the ground.
If you want to make these (much!) more difficult, do them in a push-up / plank position.
The series is 100% portable. Can you find 2-3 min each day to add it into your routine?
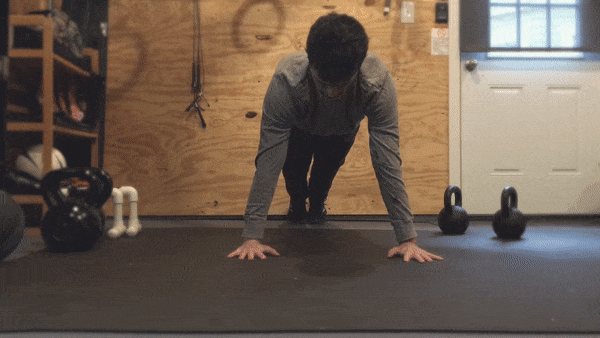
If you have a plank, do push-ups. Engage the abs, minimize any lower back arching, and exhale as you press up. Add difficulty by elevating the feet.
[ The next exercises require equipment ]
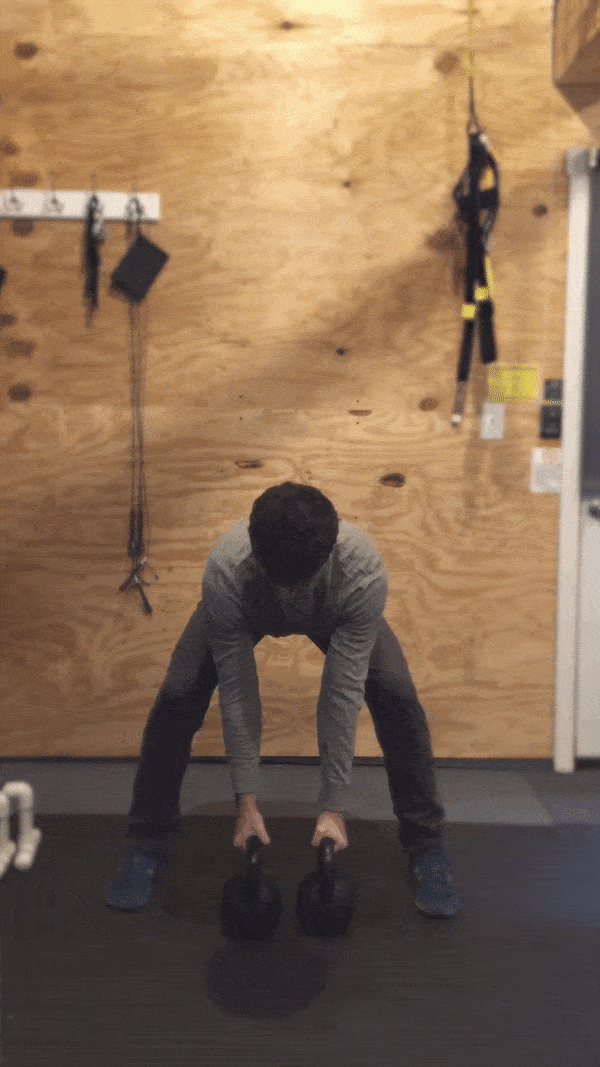
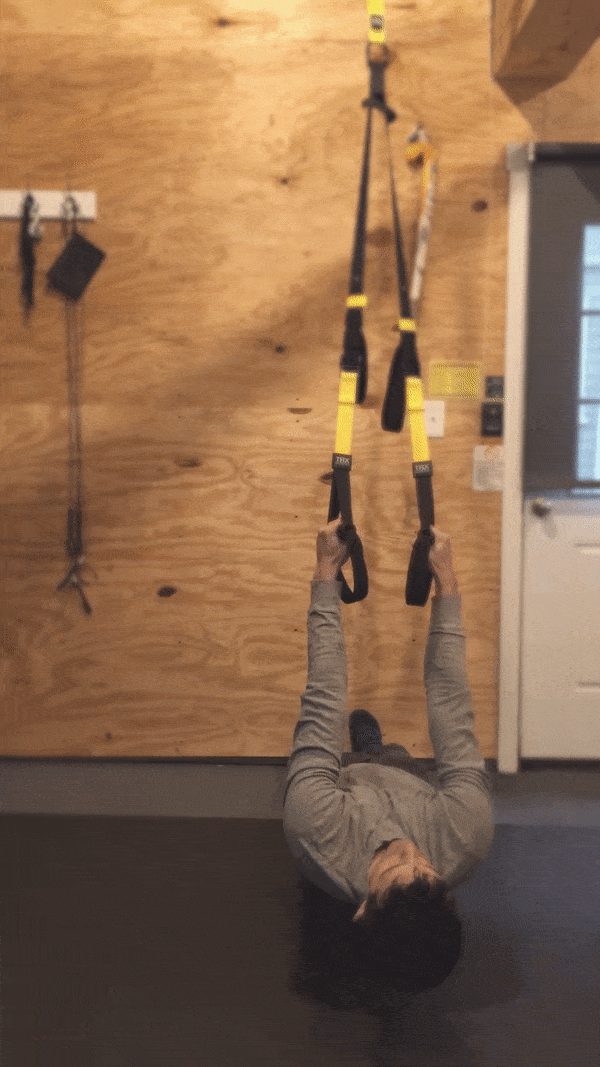
I demonstrate using kettlebells, rings, TRX. Use what you have. Don't worry about exact reps or weights - focus on controlled movement through a wide range of motion.
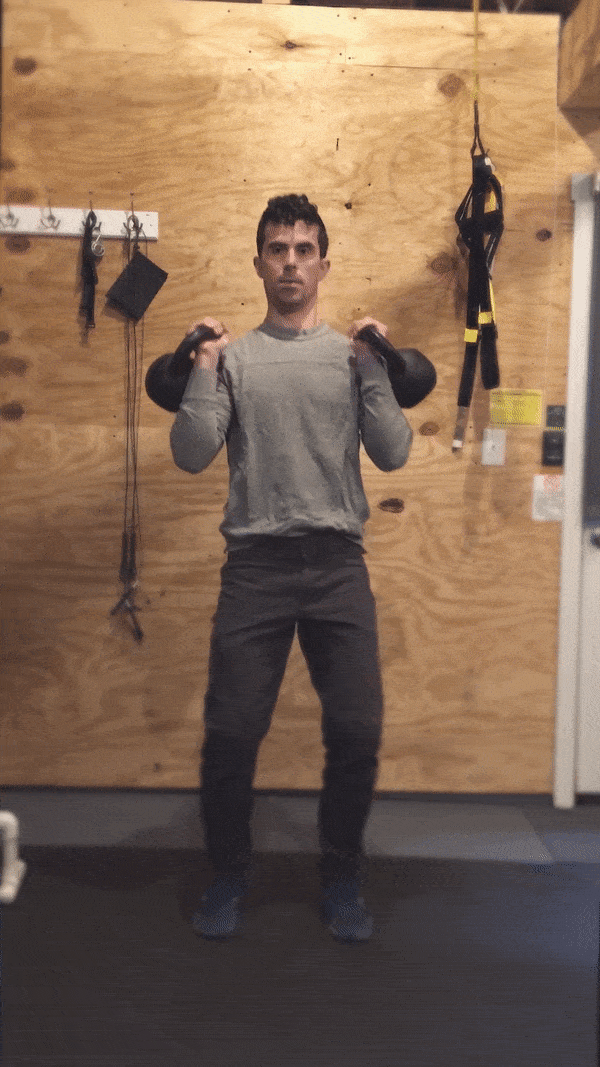
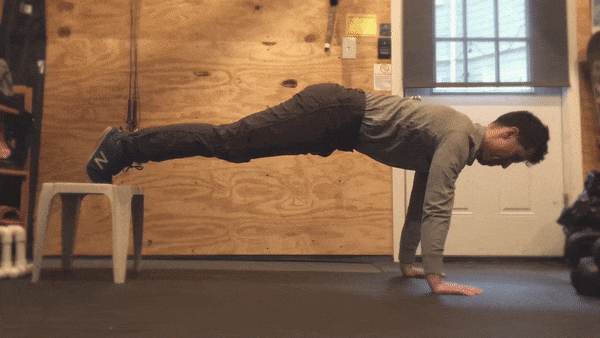
Horizontal pressing.
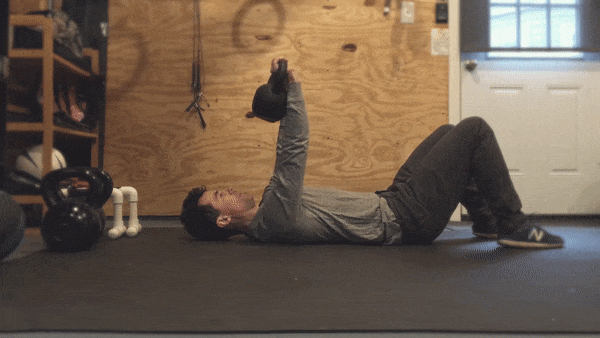
Vertical pressing.
The overhead lockout position is basically your handstand position (flipped).
Pause at the top before lowering. Engage the abs and resist the urge to arch into the low back as you extend overhead.
You may wonder: "Why pulling?"
Remember the two principles above: If you want to push harder, you'll want to pull harder. This will also help keep your joints balanced.
Pull in the horizontal plane (rows)...
... and in the vertical plane (pull-ups).
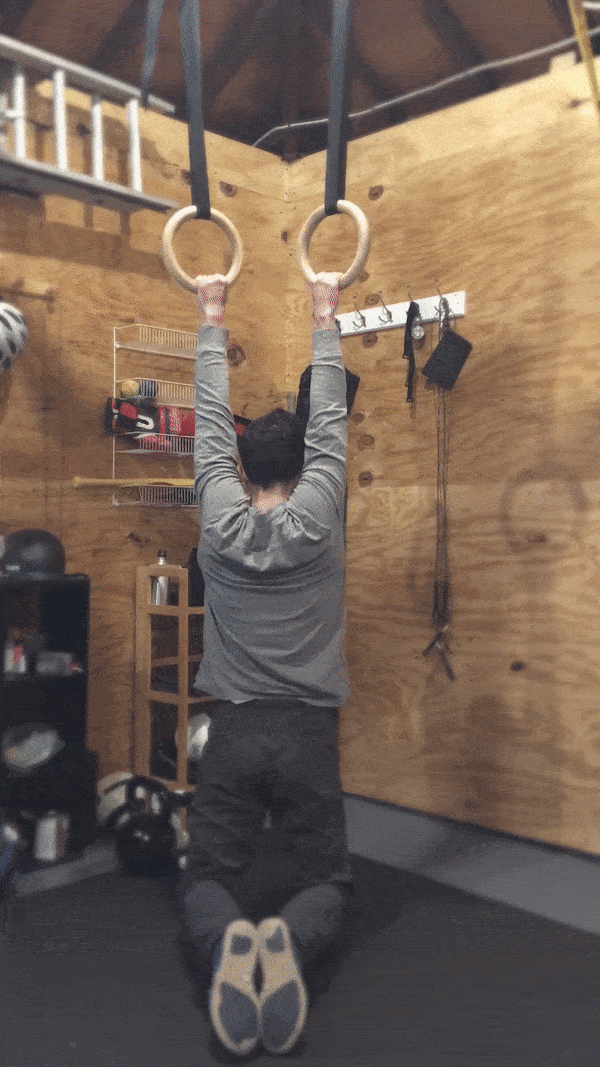
We'll revisit these movements later.
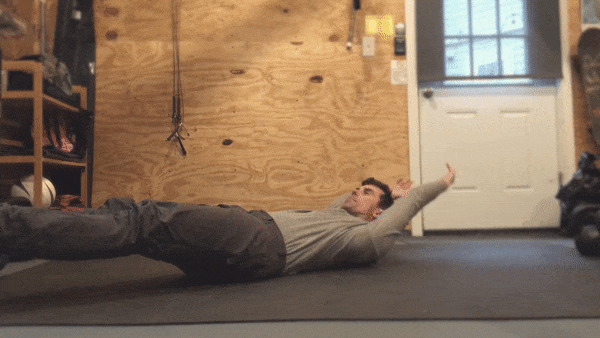
A strong core helps stabilize the handstand.
Press low back into ground. Exhale and lift the chest.
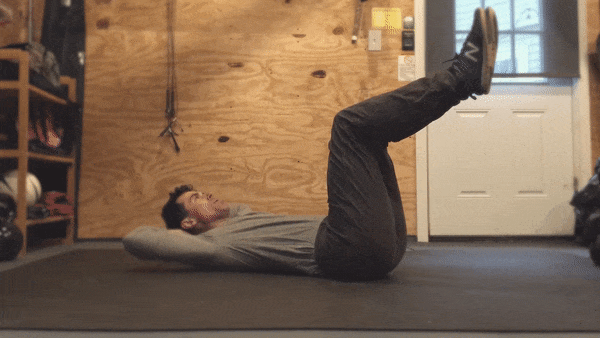
Tuck up (variation): Reach overhead, avoid arching the low back.
L-Sits: Press the shoulders down, bring hips in line with hands.
You can use yoga blocks, textbooks, chairs etc.

Add in your other favorite core exercises, as you wish.
If you’re comfortable going upside-down, here are some conditioning exercises.
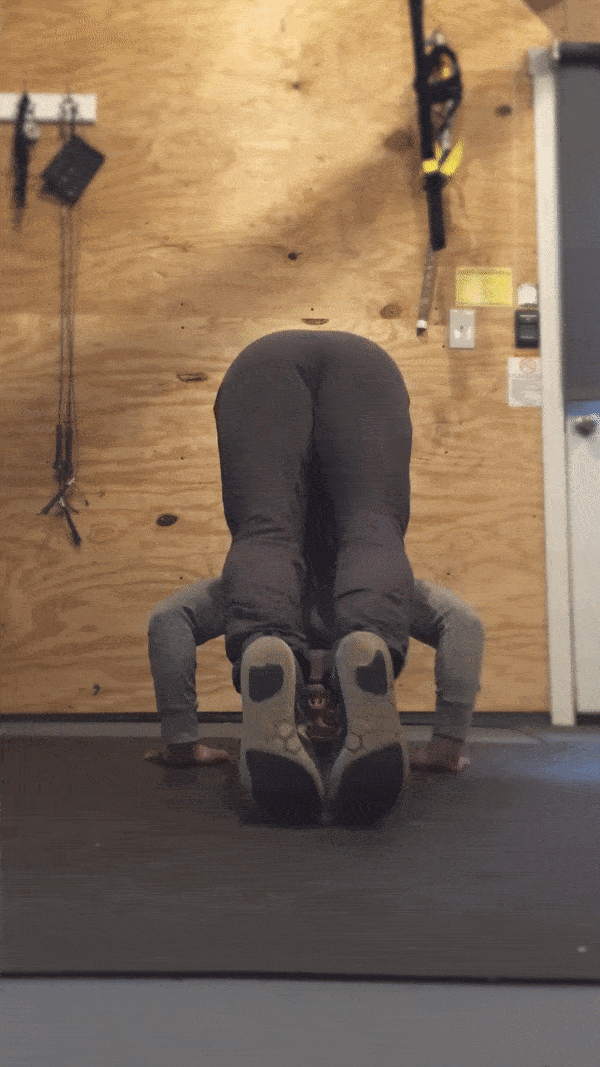
Ball roll-ins: Tucked or piked.
Lift the hips up and keep shoulders over hands. Don't sink into the back as you roll back out to the starting position.
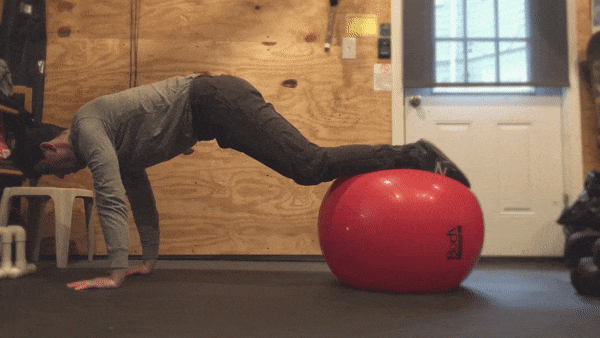
Alternatives: Use socks or furniture sliders
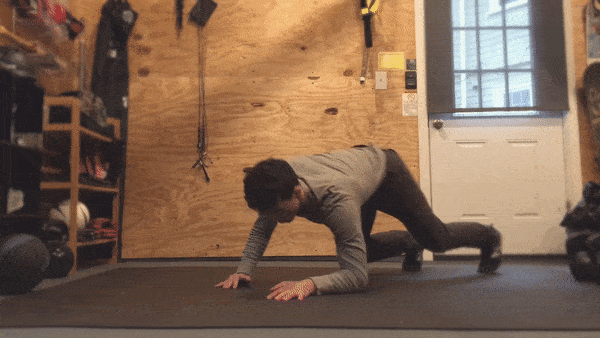
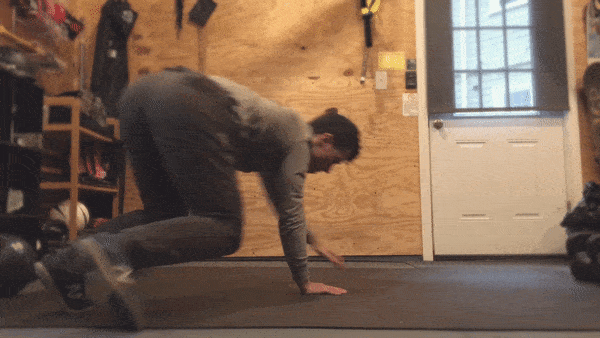
Next, walk-ins (elevated).
Walk hands towards your feet. Lift the hips up.
Headstands - also piked.
Hips high, core engaged.
If you do wall handstands - build duration there.
Play vs. Technique:
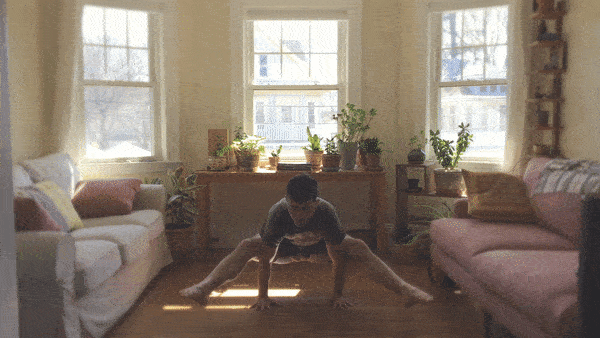
It's good to move creatively on your hands (crawl like a bear, breakdance in the kitchen etc). Don't worry about lines or reps - just improvise, play and explore.
Have fun 😊
That's it for Part II.
Next, we'll talk flexibility.
And, soon, the nitty-gritty technique.
🎪
