098: Behind the Scenes (II)
How I design Fire Jar graphics.
This is a more technical breakdown of my illustration process.
A few people have asked about my approach.
The current recipe involves some paid software, but there are also free alternatives and workarounds. My hope is that this process is accessible to basically anyone.
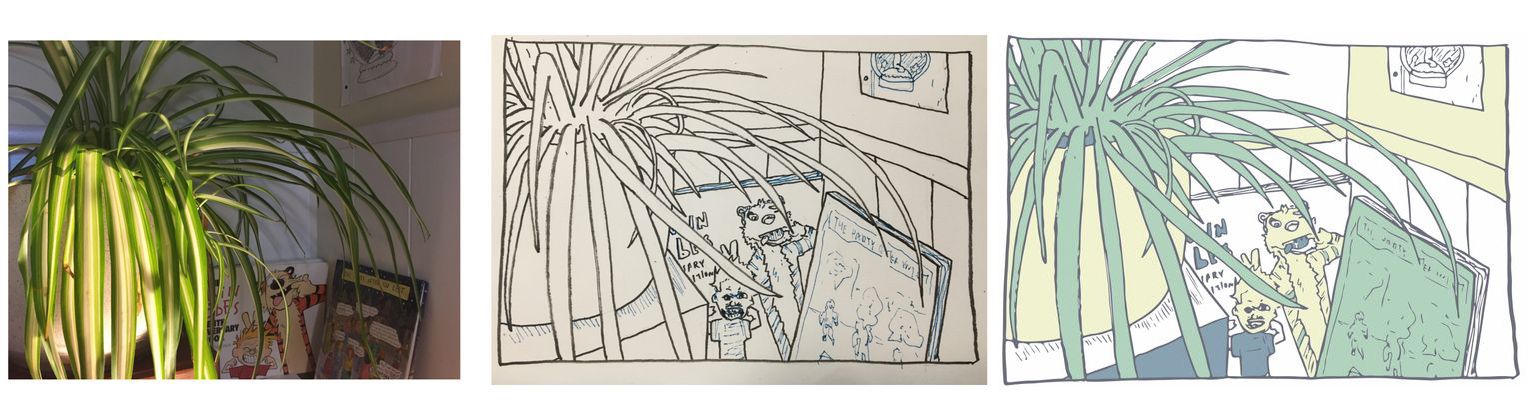
Analog -> digital workflow :
- Draw by hand (pen and paper)
- Scan drawings into digital format
- Make edits / add color, on computer
It's not the best method.
But it's the one that I like.
Tools used :
• Pen and paper
• iPhone camera
• Adobe Capture (mobile app, free)
• Adobe Photoshop (desktop app, $$) 1
1: Free / cheaper alternatives available.
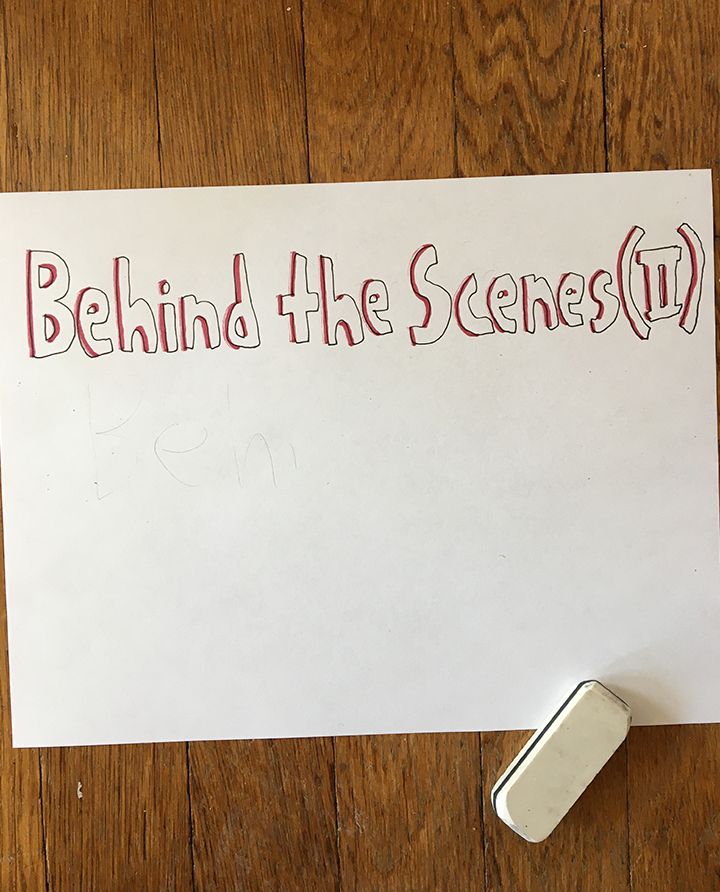
Start with drawing
1/ First, do a light pencil sketch
Then outline using a dark pen.
2/ Take a photo
3/ Crop, rotate
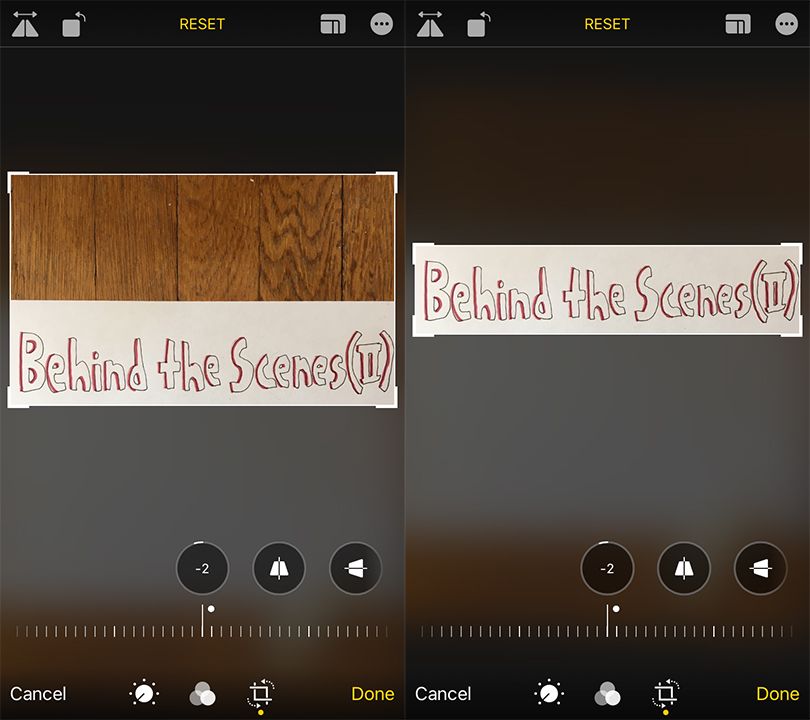
4/ Tip: Good contrast helps
🔽 This part uses a mobile app.
Note :
There are many ways to scan images.
5/ Open the photo, adjust threshold, capture it as a new shape
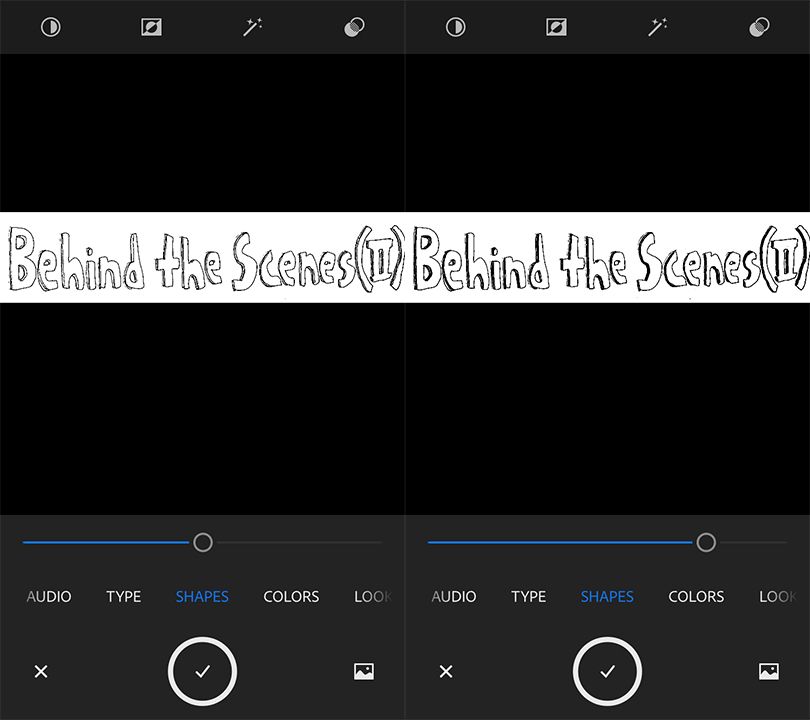
6/ Save the shape in SVG format
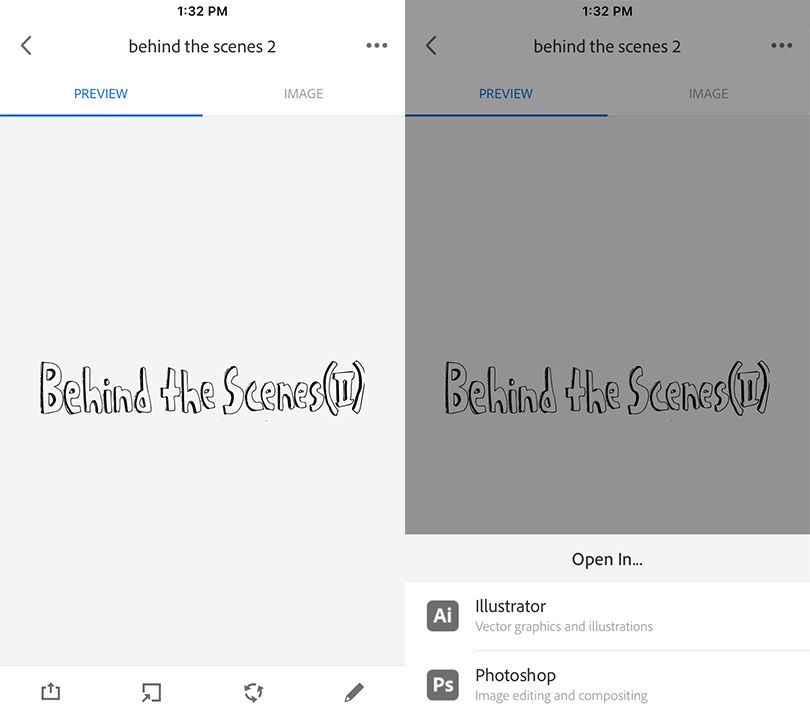
7/ If you want to edit using another app, you can export a vector file now.
Use whatever image editing software you like.
🔽 This part takes place within Photoshop 2
(desktop version).
2: Many alternatives are available.
Figma, Affinity, Photopea, Procreate, GIMP, Pixlr etc.
8/ First, I open a cover image template
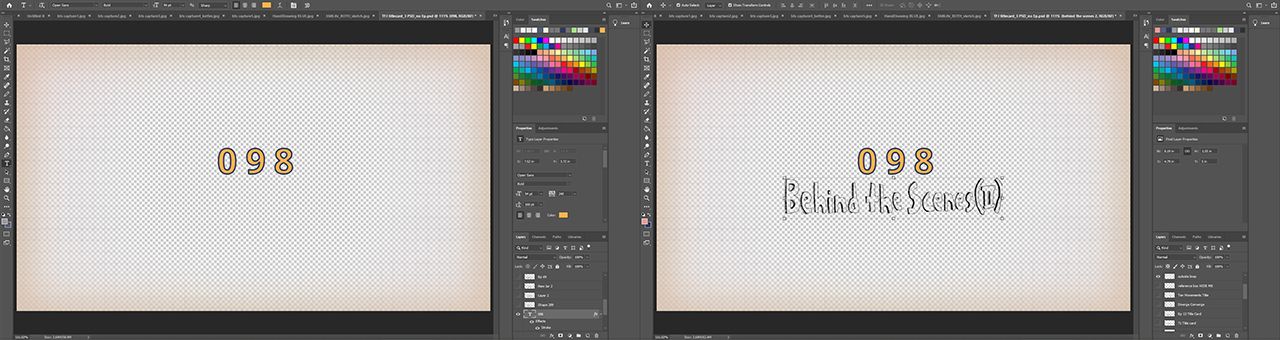
9/ Color it in (fill).
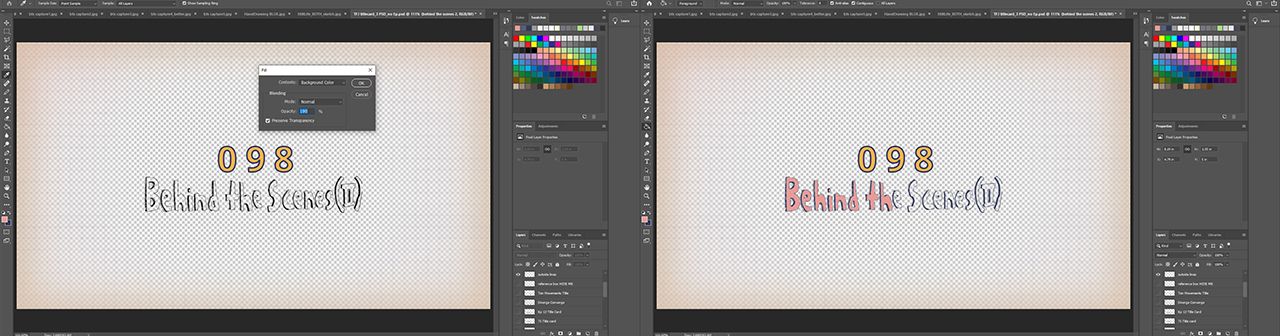

10/ Save file (jpeg / PNG)
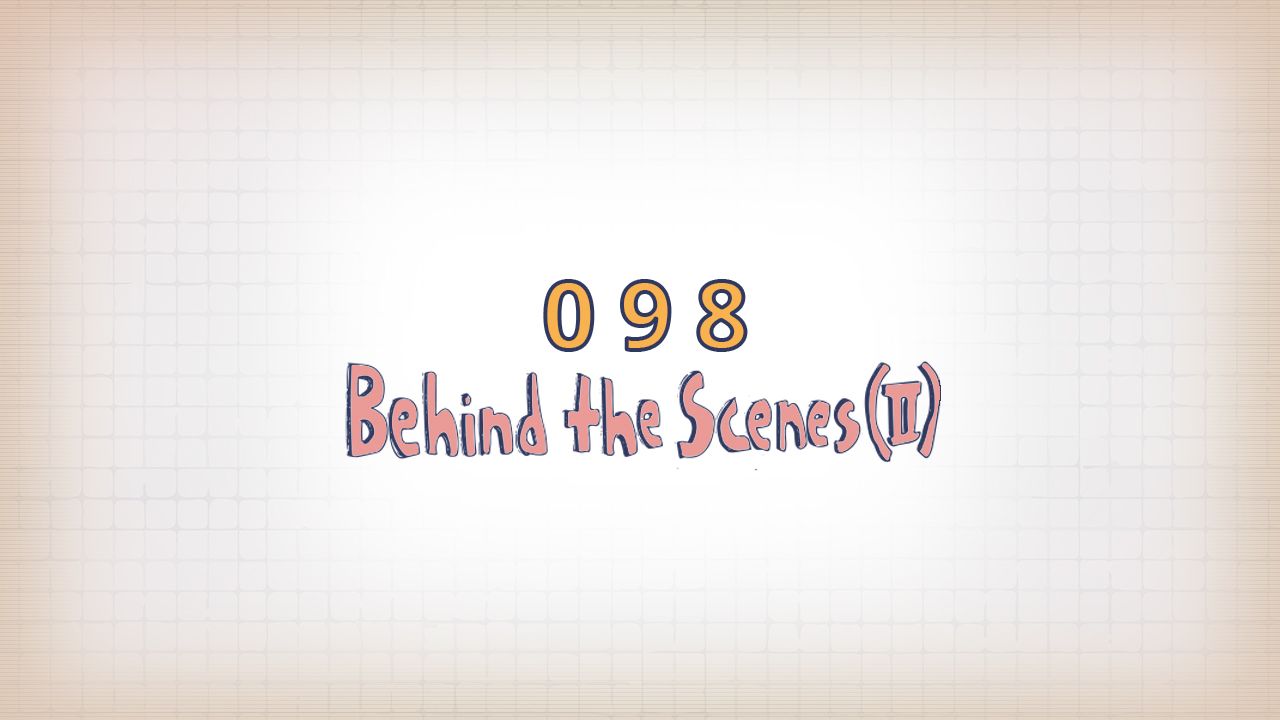
Embed into post / newsletter
Strengths and weaknesses :
Pros :
This method creates a unique look and feel. It makes me draw by hand (fun!). I can also use the vector graphics later for video / motion.
Cons :
It's slow and inefficient. So I tend to batch this process and digitize multiple drawings at once. It's much slower than using a tablet.
What does your approach look like?
I'm open to trying new tools / workflow.
Want me to design something for you?
Let me know!
jer@thefirejar.com
Related :